 Digital Commons Help Center
How Can We Help?
Add or Revise Content in a Scrolling ExhibitAdd or Revise Content in a Scrolling Exhibit
This page describes how to build a scrolling exhibit in DCX by adding frames to it. See Create a New Scrolling Exhibit if you first need to create a scrolling exhibit, or see DCX Scrolling Exhibits Overview to learn about scrolling exhibits and how they differ from standard exhibits.
Add Frames to a Scrolling Exhibit
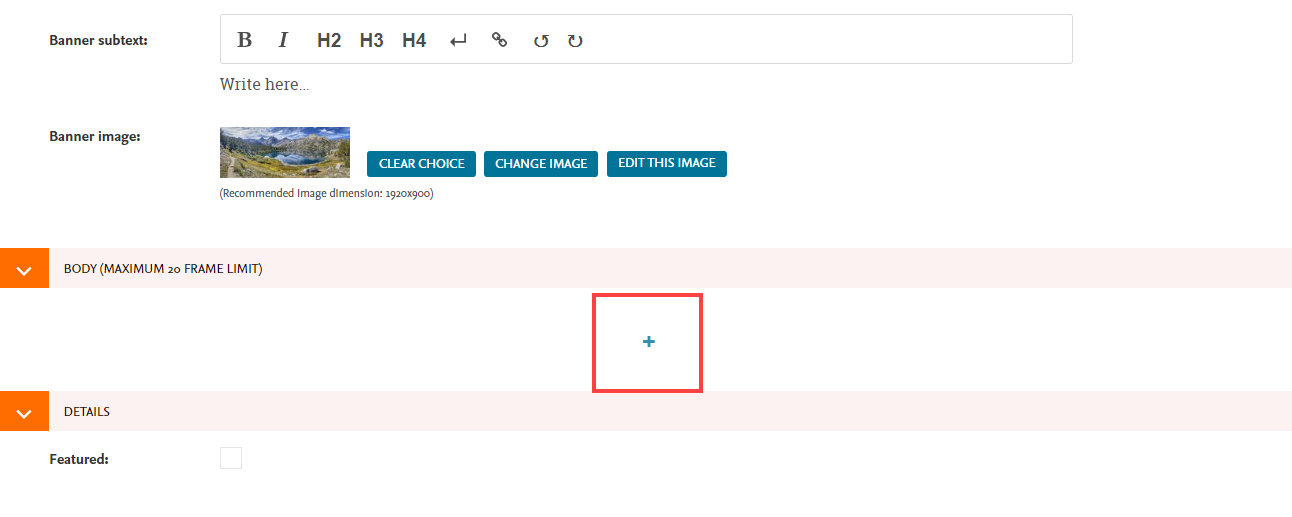
The Body section on the scrolling exhibit edit page is where you can add frames to form your scrolling exhibit. Each scrolling exhibit can have up to 20 frames.
Steps to add a frame:
- Click the plus + icon, if present.
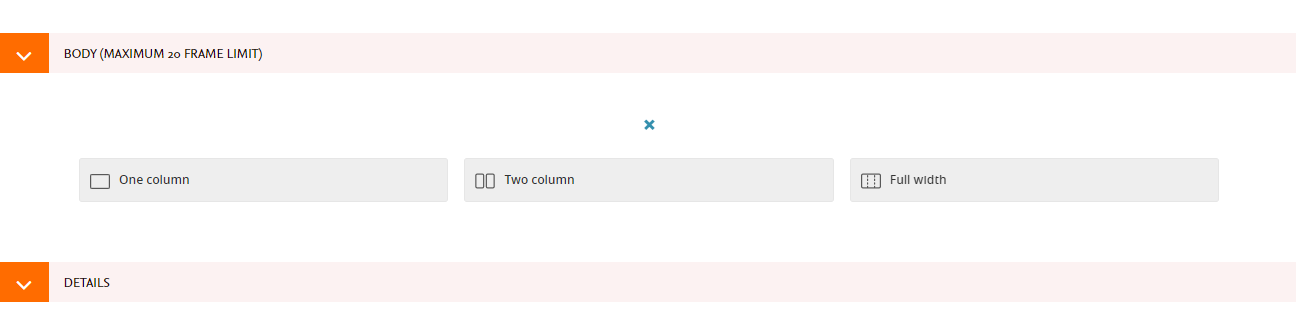
- Choose a frame type: One column, Two column, or Full width.
- Select the type of content you wish to display in the frame. Content options differ depending on your frame selection. Refer to Content Types in Scrolling Exhibits for additional details, if needed.
-
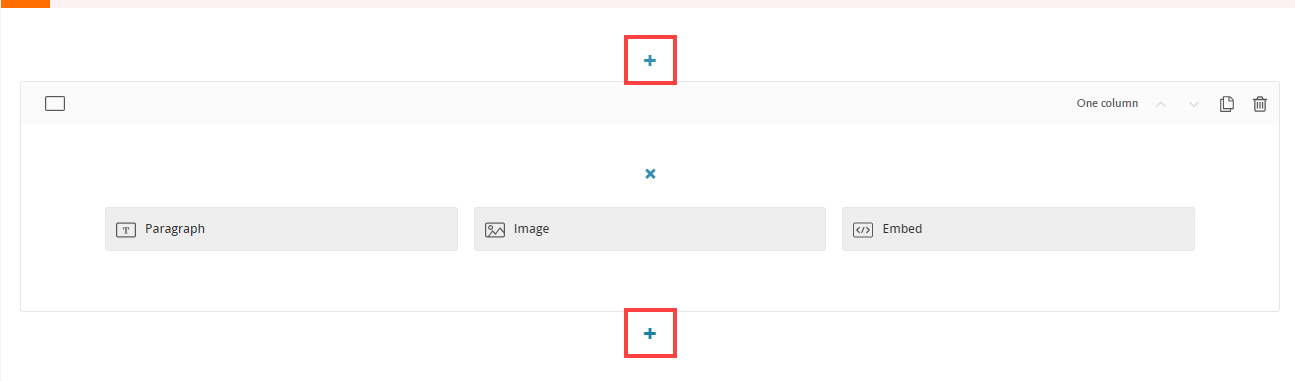
One or two column frame: You can select a Paragraph block, Image block, or Embed option.
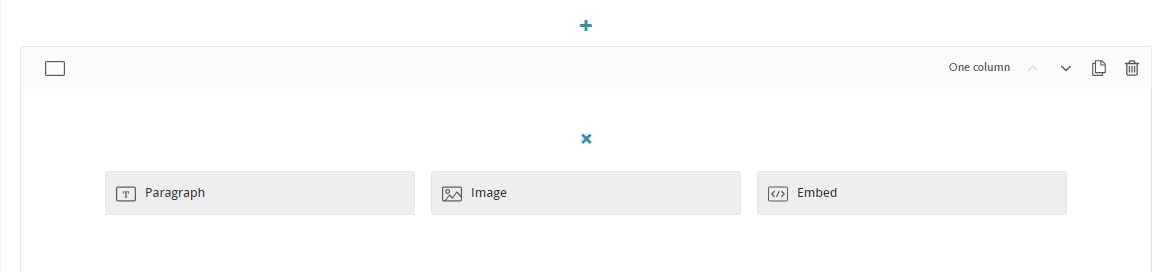
In a two column frame, these options will appear twice so you can make selections for both the left and right columns. -
Full-width frame: You can select either a Slideshow or an Embed.
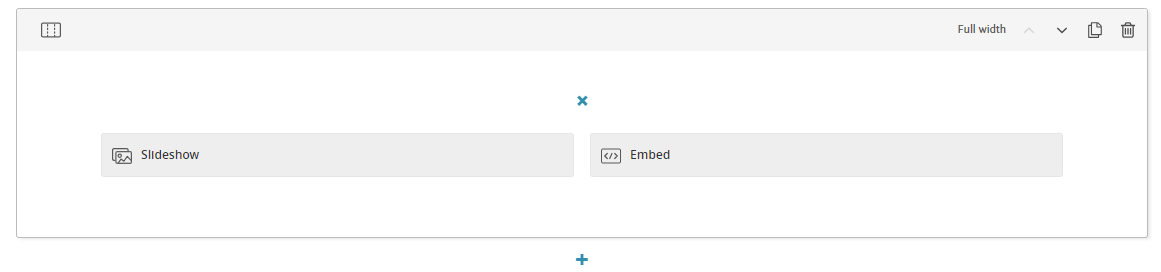
Selecting the Slideshow block allows you to add a single image in the frame or, if desired, add a slideshow with multiple full-width images separated by transitions.
-
One or two column frame: You can select a Paragraph block, Image block, or Embed option.
- To add another frame, click the plus + icon that appears above or below an existing frame and then select a frame type (as in step two above).
Tip: Click the heading at the top of a frame to collapse it if you'd like to conserve space while working on other sections. Click a collapsed heading again to expand it.
Move or Revise Content
You can move, remove, add, or replace content in an exhibit using the icons that appear at the top right of each frame, block, or column.
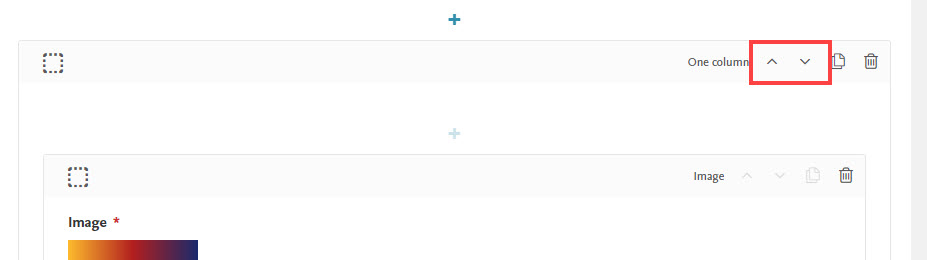
To move a frame to a different position, use the up and down arrows:
Other actions:
- To duplicate a frame or column, click the pages
 icon.
icon. - To delete a frame or other element, click the trash can
 icon.
icon. - In two-column frames, you can replace or move columns by first deleting them with the trash can icon, then clicking the plus + icon to add a new column in the desired position.
Note: Icons will be grayed out for any actions that aren’t currently available for a frame, block, or column.
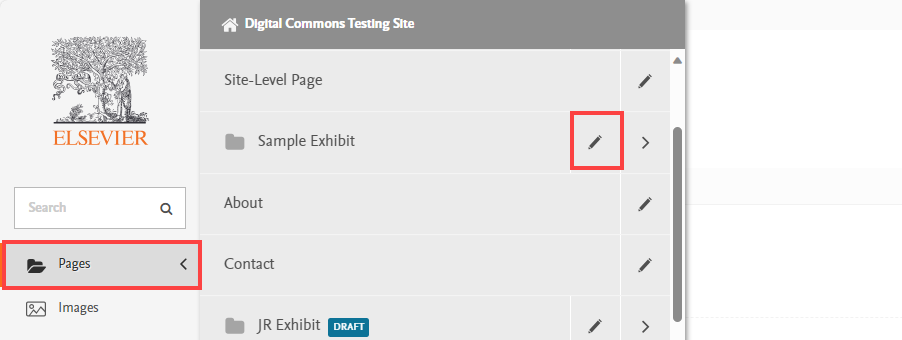
To edit a scrolling exhibit that was created previously, click Pages in the administrator sidebar, then click the edit icon to the right of the exhibit name.